
Adding a sale on Ledgar helps you keep accurate business records and track what you have sold.
What this tutorial covers
This guide focuses on creating a sale.
It does not go deep into:
- recording later payments
- marking sales as fully paid
- sharing receipts
- exporting receipts
Before you add a sale
Before creating a sale, it helps to already have:
- your business profile set up
- clients added, if the sale is not a walk-in sale
- items available, although the Sales component can also create an item on the fly if you type a new item name while creating the sale.
How to add a sale on Ledgar
1. Open the Sales page
Go to the Sales section in Ledgar.
The Sales component includes a dedicated sales area where you can create and manage sales records.
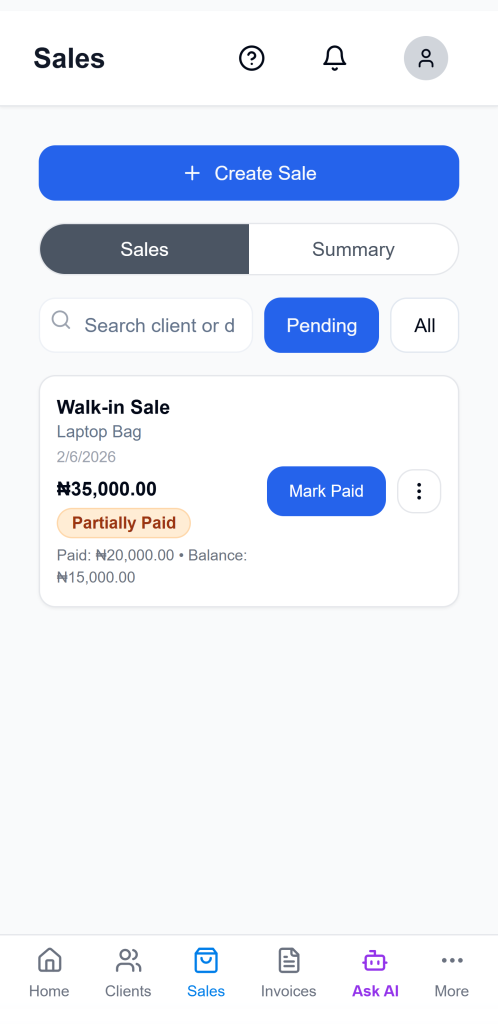
2. Click the Add or Create Sale button
Open the sale form to begin entering the transaction.
The component uses a create form modal titled Create Sale when you are adding a new sale.

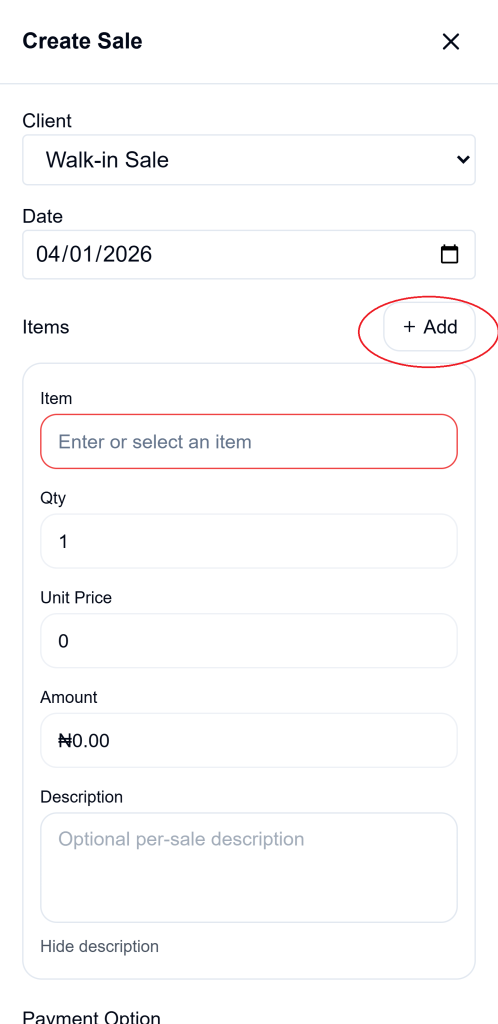
3. Choose a client or keep it as a walk-in sale
At the top of the form, select a client if the sale belongs to an existing customer.
If you do not choose a client, Ledgar treats it as a Walk-in Sale. The create form explicitly includes a client dropdown with a default walk-in option.
[Insert screenshot: Client dropdown with Walk-in Sale option]
4. Select the sale date
Choose the correct date for the transaction.
The create form includes a Date field powered by a date picker.
5. Add the item you sold
Under Items, start entering the item details.
The Sales component supports one or more item rows, and each row includes item name, quantity, unit price, amount, and optional description support. It also includes an Add button so you can add more rows for multi-item sales.
6. Enter quantity and unit price
For each row, enter:
- the item name
- the quantity
- the unit price
The amount is calculated from quantity multiplied by unit price. The component recalculates the row amount automatically whenever the item fields change.
7. Use an existing item suggestion if available
As you type an item name, Ledgar can suggest matching saved items.
The Sales component includes autocomplete logic that filters items based on the typed name and lets the user apply a suggested item, including its unit price.
8. Add another item row if needed
If the sale contains multiple items, click Add in the Items section.
The component supports multiple line items and also lets you remove an item row when needed.
9. Add an optional line description
If you want to include more detail for an item, you can add a line-level description.
The component stores an optional custom description for each sale line item.
10. Confirm the currency
The form uses a currency value as part of the sale record.
The Sales component initializes the sale form using the currency from settings, and saves the sale with that currency.
11. Review the totals
Before saving, review the total amount shown at the bottom of the form.
The component calculates:
- subtotal from the item rows
- VAT when VAT is enabled in the tax profile
- gross total after tax
When VAT is active, the UI shows subtotal, VAT percentage, VAT amount, and the total.
12. Save the sale
Click Create to save the sale.
The component validates the sale before saving. It requires each line to have an item, requires at least one item row, and requires the total amount to be greater than zero. If a typed item does not already exist, the component can create that item first and then continue saving the sale.
Important notes about payment during sale creation
Your Sales form currently includes payment selection inside the create-sale flow, with radio options for Full Payment and Partial Payment, and an Amount Paid input when partial payment is selected. The UI also shows paid and remaining values when partial payment is used.
Can you edit a sale later?
Yes. The same Sales component supports editing an existing sale.
When a sale is opened in edit mode, Ledgar loads the saved client, item rows, quantities, prices, descriptions, currency, date, and any existing paid amount into the form.
Other actions available on the Sales page
Even though this post is focused on adding a sale, the Sales page also supports:
- edit
- reverse
- delete
- share
- summary view
Those actions appear in the sales interface and dropdown actions for each sale.
Tips for creating cleaner sales records
Use saved clients whenever possible so your records stay easier to trace later.
Break multi-item transactions into separate line items instead of combining everything into one vague row.
Check the date before saving so the sale falls into the correct reporting period.
Review the total carefully, especially when VAT is enabled, since the UI calculates subtotal, VAT, and gross amount separately.
Troubleshooting
I cannot save the sale
Make sure every line has an item and that the total amount is greater than zero. The save logic checks both before allowing the sale to be created.
I typed an item name that does not exist
That is okay in many cases. The Sales component can create the item on the fly using the entered name and unit price before saving the sale.
I want to add more than one item
Use the Add button in the Items section to insert another row.